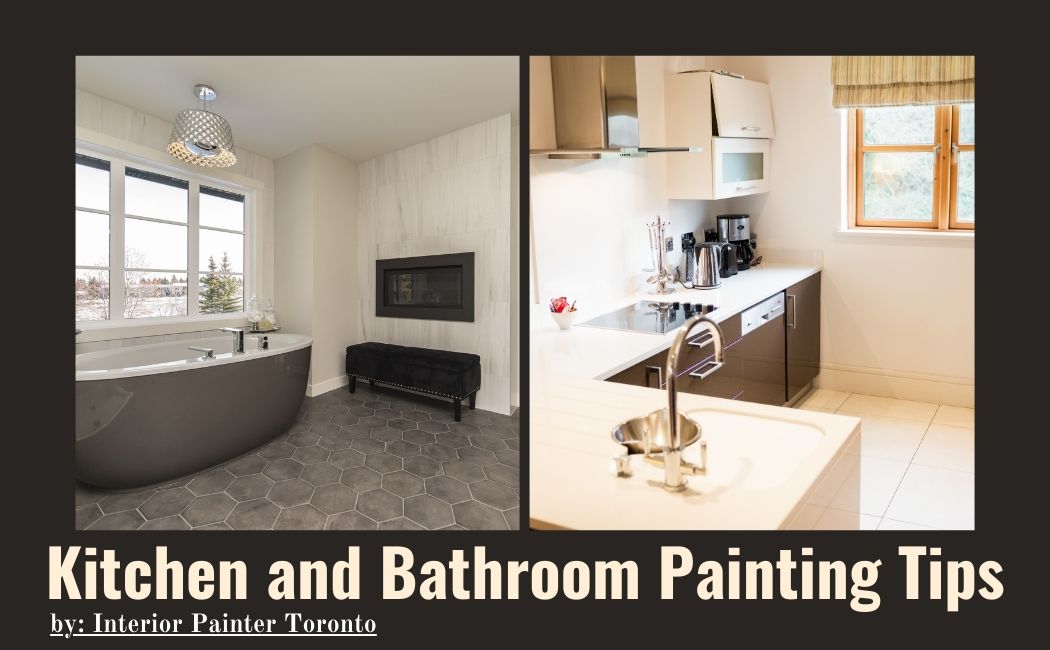
Kitchen And Bathroom Interior Painting Tips by Interior Painter
Although the bathroom and kitchen is a very important area of the house with different functions, they both require adequate wall covering.
Discover the Interior Painting tips for kitchens and bathrooms by the interior painter, protecting the walls of the two most frequented rooms in the house!
Why use special paint for kitchens and bathrooms?
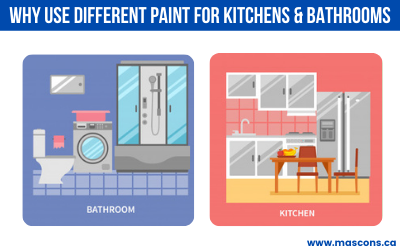
Both kitchen and bathroom are damp rooms where the walls are in frequent contact with water and steam. Although regular Interior Painting can also be used as a wall covering in these areas, it is generally recommended to use paint specially designed for kitchens and paint for bathrooms.
This paint product is water-based: it is usually 100% acrylic latex. Several finishes, colors, and shades are available.
It is a covering paint that is also very resistant to soiling, humidity, and frequent washing. Besides, it contains agents that protect against mold and water-related deterioration.
You must use specific paint for the bathroom and kitchen because it lasts longer and remains in better condition than conventional paints for this type of area.
In This Article
- Kitchen and bathroom paint: how to apply it
- Select the right paint and gather the necessary equipment
- Prepare the kitchens and bathrooms for painting
- First steps towards kitchens and bathrooms painting
- How to: kitchen cabinet paint
- Maintain the paint over the years
Kitchen and bathroom paint: how to apply it
When start Painting first cleans the surface. It may also be necessary to apply a primer, depending on the paint chosen. Some paints can even be painting bathroom tiles.
This will allow you to keep your tiles while giving them a facelift or a new color. Besides, your tile will be better protected against mold thanks to the antifungal properties of this specialized paint.
You can apply the paint yourself using a roller for large areas, brushes for edges and corners, and a paint tray.
Call on Local Painter in Toronto specializing in all types of Interior Painting Services.
It is generally designed for the bathroom and kitchen, but some brands sell them separately; however, the composition remains almost identical.
Select the right paint and the necessary Interior painting equipment
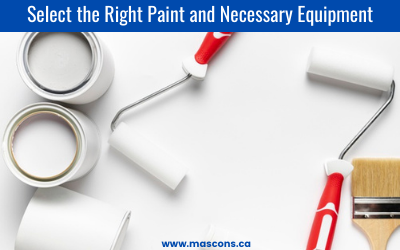
Head to your favorite hardware store to choose your products. Depending on your needs, you will need to purchase a primer and paint, as well as hole-filling products.
You will have to choose from the selection available on site, following the advice of the experts. Don’t forget to choose the best paint product for kitchen painting and bathroom painting in Toronto. Evaluate if you will need a different paint for the ceiling.
As for the equipment, see what you already have on hand and then supplement with additional tools (brushes, sanding blocks, seals, duct tape, etc.)
Prepare the kitchens and bathrooms for painting
As in any painting project, it is important to prepare the room well before you start Interior Painting. Often in kitchens and bathroom painters, there is furniture and objects that cannot be moved.
We must therefore work around these elements, without damaging them with the paint. During this step, take the time to protect cabinets, counters, backsplash, mirrors, doors, and any other item that you do not plan to paint.
For the floor, it is advisable to use a cotton tarp as these adhere better to the floor and absorb the paint, thus avoiding potential damage.
The preparation stage also includes cleaning the part and repairing any damage, which serves to increase the chances of having a uniform result.
First step towards kitchens and bathrooms painting
Once you’ve prepared the room well, it’s time to move on to the painting process. It is important to complete the steps by following certain logic. For example, if a primer is to be applied, you will need to allow enough time for it to dry.
Then, it is advisable to start painting by applying the product to the moldings and the ceiling. After each step, it is important to respect the drying time so that the paint is uniform.
How to Paint: kitchen cabinet
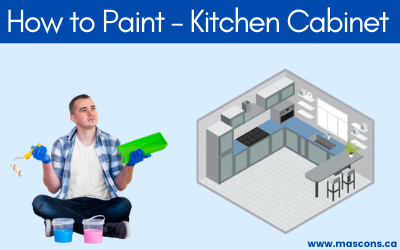
While planning for painting kitchen cabinets give them a little facelift. Again, you’ll need to use the right product and be thorough. Here is an important interior painting tip to do by an Interior painter.
Remove cabinet doors and drawers
Interior Painter Strongly recommends removing the doors and drawers to work more efficiently flat. We also encourage you to remove the decorative hardware.
This will save you from having to protect them and cut them. This will save you precious time.
Clean the cabinets
Clean the surface with a cleaner degreaser to remove contaminants, greasy stains, and wax residue.
Sand the surfaces
Gently sand cabinet doors and cabinets with 180 or 220 grit sandpaper to remove luster from the surfaces.
Dust sanded surfaces
This thoroughly removes sandblasting dust. You can remove most of the dust with a rag, synthetic duster, or shop vacuum. Some people like to spray air using bellows installed on a compressor.
We recommend carrying out a final cleaning using a cloth dampened with Circa 1850 Furniture Cleaner.
Apply an ultra-adherent base coat
To ensure lasting durability over the years, it is essential to apply 1 coat of primer which has specific adhesion priorities. Traditionally, we have tended to recommend oil (alkyd) or alcohol-based base coats.
Although these alternatives remain renowned for maximum adhesion, their major drawbacks are that they are odorous and require cleaning the tools with solvent.
Water-based adhesion primers are available these days that are very suitable for painting furniture such as kitchen and bathroom cabinets. They provide the same level of adhesion as traditional solvent-based primers while simplifying installation conditions.
In addition, these products are considered less harmful to the environment since it is water that evaporates when the paint dries.
Let the base coat dry
At a minimum, some products will require 2-4 hours while others require 24 hours. In this regard, “more than less” is a motto to adopt…
Lightly sand the primer coat
Interior Painter strongly encourages you not to neglect the sanding between each of the coats of paint with 220 or 320 sandpaper to smooth and soften the surface.
Indeed, this will help to remove potential slides, dust grains, unevenness of the surface, or any texture generated by our installation tools. If you apply the paint using a roller or brush, it will look more like the job was done with a spray gun.
Apply 2 coats of paint designed for furniture finishing
We sometimes hear some people who suggest using floor paints covered with varnish to paint kitchen cabinet doors and casings… As far as we’re concerned, we like to sell floor paint… for floors!
There are indeed paints designed specifically to paint furniture and cabinets. They have all the characteristics sought to ensure a beautiful finish and good durability over the years:
- Adherent and robust resin for permanent adhesion and durability over the years
- Increased leveling characteristic for an ultra smooth finish
- Resistance to abrasion and cleaning
Leave to dry properly between each coat
Although this statement seems obvious, we must remind you … If we abrupt the steps by superimposing the different layers too quickly, our cabinet protection system may prove to be less durable in the end. Indeed, when we apply a second or a third coat of paint too quickly, we trap the solvent (water) which gives us a softer, softer, and, consequently, less durable coating.
Between each coat, sand, the painted surfaces
As we mentioned in point 7, gently sanding the painted surfaces with 220 or 320 pieces of paper will smooth and soften the surfaces, removing brush strokes and imperfections. For a result that meets your expectations!
Let harden a few days before reinstalling
A distinction must be made here between the drying time and the hardening of a paint. Although newer paints dry faster than older oil-based paints, the full cure stretches over a period of 10 to 21 days.
Without having to wait that long, the principle is that cabinet doors and drawer fronts risk being damaged if you do not wait at least a few days before handling them intensely, putting the hardware again, and to re-install them.
Enjoy your new kitchen!
You have invested time and effort… You are now reaping the rewards of this investment and deserve to fully enjoy this beautiful, friendly room in the center of the house for many years to come!
Maintain the paint over the years
If you have chosen the right paint, you will notice that the walls will generally be easy to maintain and resistant to cleaning.
This does not mean, however, that you will have to repaint the entire room. You could just keep a small amount of the paint you bought initially and use it to make corrections.
Sometimes a new coat could also help give the room some extra shine, but in general, with a good product, you won’t need to do it often.
Thanks for reading the article contact us today the Mas Construction – Painting Contractor call us – 647-835-0590 or fill the form below.